The Cat in the Hat
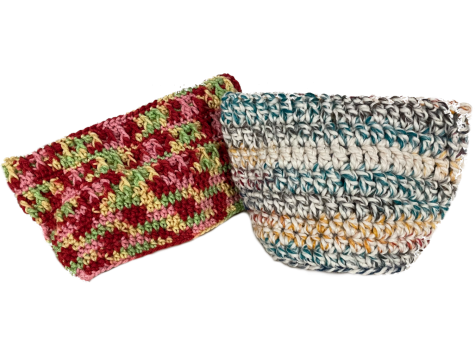
A free crochet cat beanie pattern for last minute Holiday presents.
Disclaimer: Though this pattern is beginner-friendly, you must have knowledge of the most basic crochet stitches. If you have no knowledge of crocheting, use online resources on YouTube for beginner tutorials and visual references.
Do you have no idea what to get your friends for a holiday present, but have some crochet tools lying around? Here’s a free, beginner-friendly crochet pattern that could be a good gift for people who love hats as well as cats. This crochet beanie pattern can be adjusted for all sizes and preferences.
Here’s a list of tools that will be needed:
- a crochet hook of any size
- yarn that works with your crochet hook
- a yarn needle
- stitch markers(optional)
The first step is to make a slip knot. To make a slip knot, create a loop. Pull the long end of the yarn over and through the loop tightly. Put the loop on your crochet hook. The loop should be on your hook tightly, but loose enough for you to be able to pull it off the hook with very little effort.
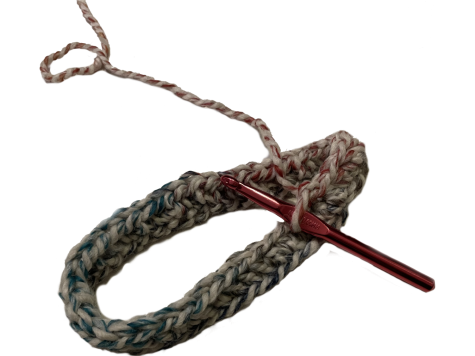
This next step is going to be determining the fit of your hat. Start creating a chain long enough to wrap around your head or whoever’s head will be wearing the hat. For a more snug fit, chain a few stitches less than you think you will need. For a more loose fit, chain a few stitches more than you think you will need. Once you have the desired length, connect the opposite ends of the chain using a slip stitch.
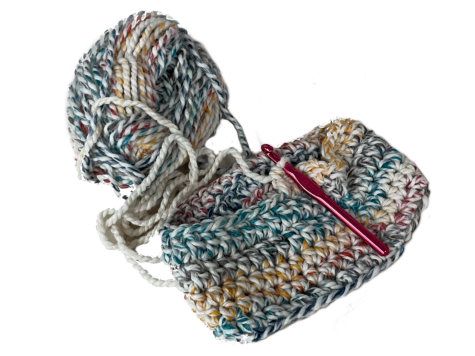
To start crocheting the actual hat, chain one and start crocheting using either single, half double, or double crochet stitches. For a thicker and more structured hat, use the single or half double crochet stitch. For a looser hat and a less structured hat, use the double crochet. Any bigger stitches will have holes too big to function as a warm hat.
Once you reach the first chain you made in the row, connect the last stitch to it using a slip stitch. To continue adding more rows, repeat the last step and continue crocheting rows until you reach your desired length. To achieve your desired fit, consistently try on the hat so you don’t have to unravel your entire project after finishing it off.
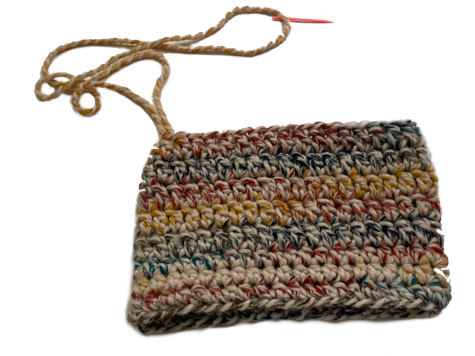
The final but optional step is to sew the cat ears. Using the same yarn you have been using, feed it through a yarn needle and sew the corners shut. Whether or not you do this, the corners will look like cat ears. Once you do so, tie off the ends and weave in the extra yarn, and you’re done!
Whether you give this cat beanie to someone as a warm holiday gift or keep it for yourself, I hope you enjoy this free, customizable pattern!
Your donation will support the student journalists of Troy High School - MI. Your contribution will allow us to print our work, purchase equipment and cover our annual website hosting costs.
