
Scintillating Snowman Cake Pops
A step-by-step guide on how to make snowman cake pops.
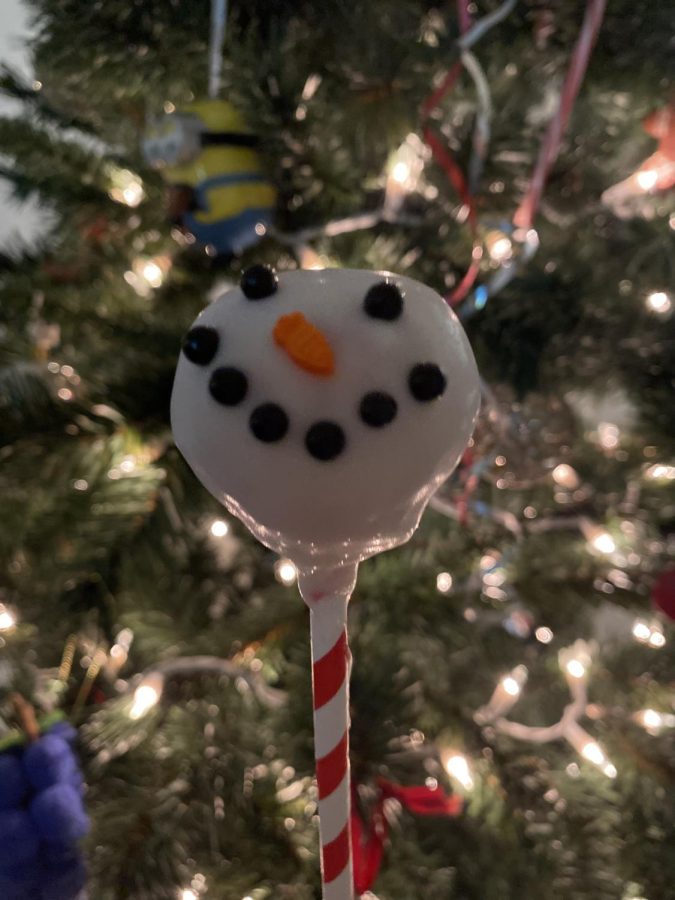
Photograph of a delicious homemade snowman cake pop with a Christmas tree in the background.
Total Recipe Time: 3 hours
Makes about 24
Ingredients:
- Pillsbury Moist Supreme Premium White Cake Mix, 15.25 oz. Box
- Duncan Hines Creamy Cream Cheese frosting, 16 oz.
- Wilton Snowman Sprinkles
- Good & Gather Vanilla Candy Coating, 16 oz.
- 1 cup of milk
- ½ cup (or 1 stick) of Imperial margarine
- 3 large eggs
- Block of styrofoam (or something to hold pops to set)
- Cake pop sticks (or festive straws!)
Instructions:
- Preheat oven to 350° and line the bottom of a glass 9×13 in. pan with parchment paper and grease sides.
- In a medium sized bowl, combine dry cake mix with wet ingredients.
- My good friend Jayadeep offered me a stellar baking tip a while ago! When following a box cake recipe, replace water with milk and oil with softened butter– if you’re feeling frisky add an extra egg too!
- If you’re planning on dyeing the cake, this would be the time to add the food coloring!
- After fully combing, pour batter into 9×13 in. pan and bake for 35 minutes.
- Remove from the oven, take the cake out of the pan and onto a cooling rack and place in the fridge for about 45 minutes. Roughly 5 minutes before pulling the cake out, melt about 2 ounces (or 1 chunk) of your candy coating.
- I usually melt the coating initially for 1 minute, then in 30 second increments as needed.
- After taking the cake out of the fridge, place onto a cutting board and cut off any burnt, crusted or dark parts of the cake. Crumble cake into fine pieces in a large bowl. Add roughly two tablespoons of frosting to the bowl and begin mixing with CLEAN, DRY hands, gradually adding more frosting until the dough is able to form balls.
- If you roll a ball and see no seam, you’ve added enough cream!
- I’ve never used more than ¾ of a container of frosting.
- Roll about 1 inch balls and place onto a baking sheet lined with wax paper. Begin dipping the tips of your cake pop sticks into the melted candy coating and sticking into your balls. Put in the freezer for about 30 minutes.
- Melt the rest of your coating using the same method previously stated. Take the pops out of the freezer, gently roll the ‘pops in the coating and tap lightly removing the excess.
- You can either place the pops pop-down onto the lined baking sheet to set OR in a block of styrofoam to maintain their sphere shape.
- It is optional, but this is where you would take these cake pops from ordinary to extravagant! Add decorative sprinkles to your cake pops to make them festive— I chose to make mine snowmen, but whatever tickles your fancy!
- The coating sets fairly fast, but slow enough that you could coat a couple and THEN add the decorating sprinkles.
- Put your cake pops in your freezer to set for roughly 15 minutes and enjoy! Store in the fridge when not serving to ensure your beautiful ’pops stay fresh as long as possible and don’t melt!

Hear the Rave!
Mason Glaub, Junior: “The cake pop was super creamy, it was very yummy. Cake was fluffy and I liked the red color, it’s like Elmo and I like Elmo. Very good you should make it!”
Jason Terpini, Sophomore: “It was very good, had a creamy flavor and moist inside, the flavors burst into my mouth as I took my first bite— unforgettable.”
Jayla Turner, Junior: “It tasted swag.”
Nathan Lukasik, Sophomore: “Man, I felt like I was jumping across clouds while devouring those amazing cake pops.”
Your donation will support the student journalists of Troy High School - MI. Your contribution will allow us to print our work, purchase equipment and cover our annual website hosting costs.